5 Easy Steps to Build a Custom Packet
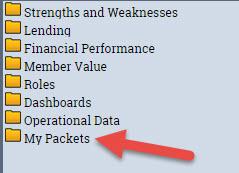
Step 1: Locate My Packets at the bottom of the left hand navigation.
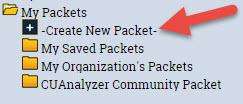
Step 2: Click on My Packets to expand it. Then click on the first option, -Create New Packet-.
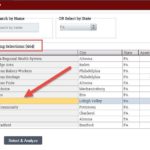
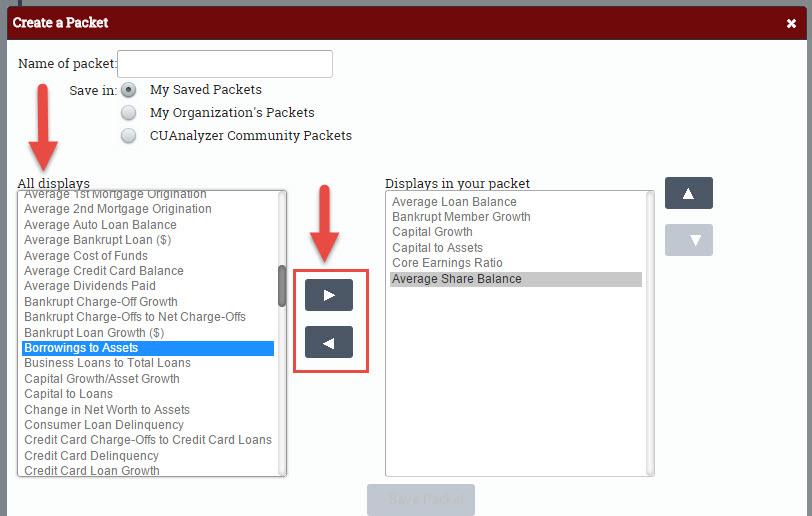
Step 3: Select displays from the All displays list. To add a display(s) to your packet, use the arrow buttons to move them to the right hand list (or double click on the display name).
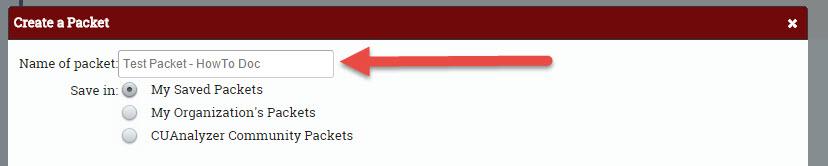
Step 4: Name the packet and choose where to save it by selecting the appropriate circle.
- My Saved Packets: You will be the only person who can access the packet
- My Organization’s Packets: You and all users of CUAnalyzer in your organization will have
access to the packet - CUAnalyzer Community Packets: All users of CUAnalyzer across the country will have access
to the packet.
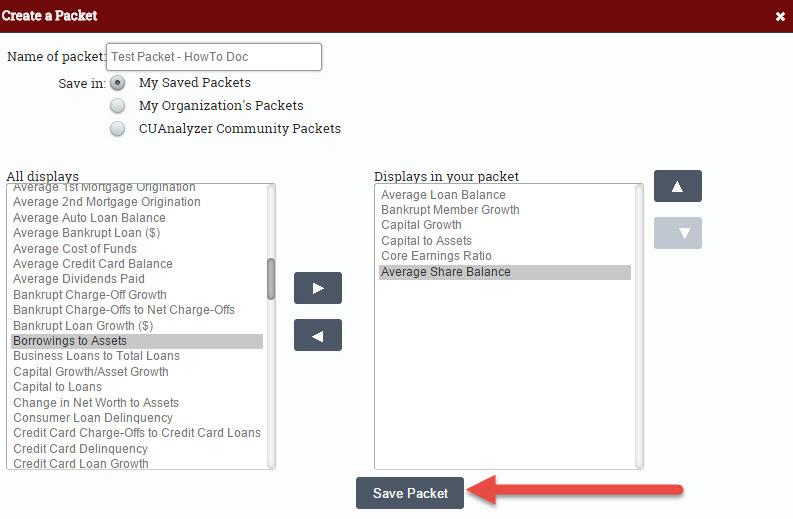
Step 5: Click Save Packet. Your saved packet will automatically be moved to the folder destination where you saved it.
NOTE: To edit a custom-built packet, open the packet in the left hand navigation. Then click Edit.
[zilla_button url=”/support/wp-content/uploads/2016/06/How-To-Create-A-Packet.pdf” style=”blue” size=”medium” type=”square” target=”_blank”] Download/View PDF [/zilla_button]