The Settings Menu within Peer-to-Peer allows you to manage and customize many aspects of Peer-to-Peer.
This guide outlines for you how to:
- Enable and disable inactive institutions
- How to manage folders
- How to upload your 5300 call report.
To access the Settings menu, go to the upper right corner of your screen and click on settings.
![]()
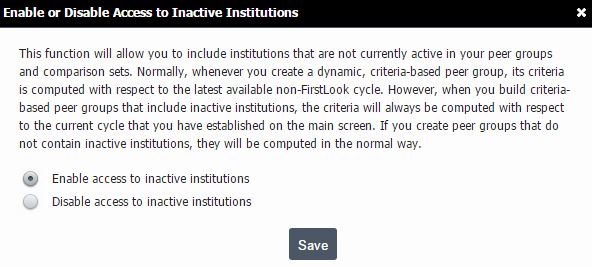
Peer-to-Peer gives users the option to include or exclude institutions which are not currently active.
To enable inactive institutions simply select Inactive Institutions under Settings and select Enable access to inactive institutions and click Save. To disable, follow the same steps but select Disable access to inactive institutions and click Save.
Peer will allow you to include inactive institutions in your analysis when you create a custom peer group. As you roll back the data cycle, Peer-to-Peer will calculate data with institutions that were active as of that cycle instead of calculating historical data for the institutions that are active in the present cycle, which it will do if you do not have inactive institutions enabled.
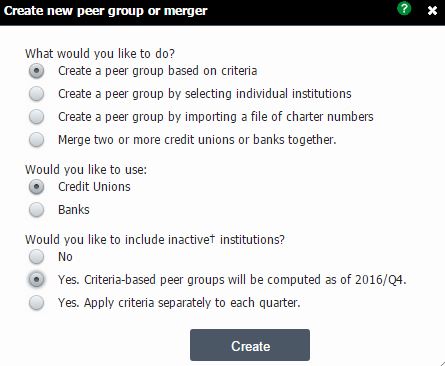
For example:
- Data from a credit union that merged away in the first quarter of 2012 would appear for any quarter before 1Q 2012 if inactive institutions are enabled.
When conducting your analysis, you can identify inactive institutions by looking for ones that have a cross and date next to their name. The date refers to the last quarter they reported data.
Manage Folders allows you to delete or rename folders from My Displays or move, delete, or rename individual displays. The My Displays portion in Peer-to-Peer allows you to store any set of custom folders and displays. This is comparable to ‘My Documents’ on your system computer.
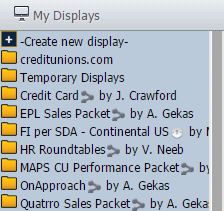
To manage folders, go to Settings in the upper right corner of your screen and select Manage Folders. Within Manage Folders, you can do several things:
-
Delete: You can delete one or more folders by selecting them and clicking Delete.
-
Rename: To rename a folder, just select the folder and type the new name in the New Name box at the bottom of the screen. Once you have done this, click Rename Folder To.
-
Display Management: If you click on a folder, the system will list all of the displays within the folder. If you wish to delete one or more displays, you can do this by selecting the display and clicking Delete Display. To rename a display, follow the same steps we used to rename a folder.
-
Move Displays Between Folders: If you would like to move a display from one folder to another, click on the display, select move display, click ok, and then click on the folder you would like to move it to.
If you have your 5300 call report in XML format and would like to upload it into Peer-to-Peer, simply go to Settings in the upper right corner of your screen and select XML 5300 Upload.
This will bring up a dialogue box where you can choose your call report file from your computer and upload it.
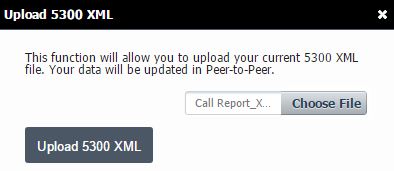
Please note, this will only work for your institution and for files saved in the XML format.