6 easy steps to custom peer group creation
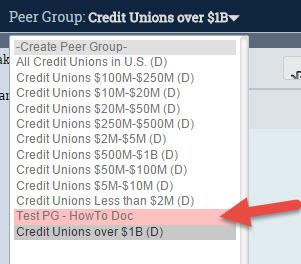
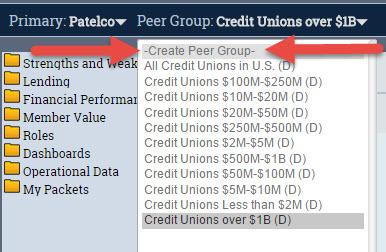
Step 1: Click on the Peer Group drop down, located in the upper left hand side of the screen. Then Click –Create Peer Group- (the first option in the drop down)
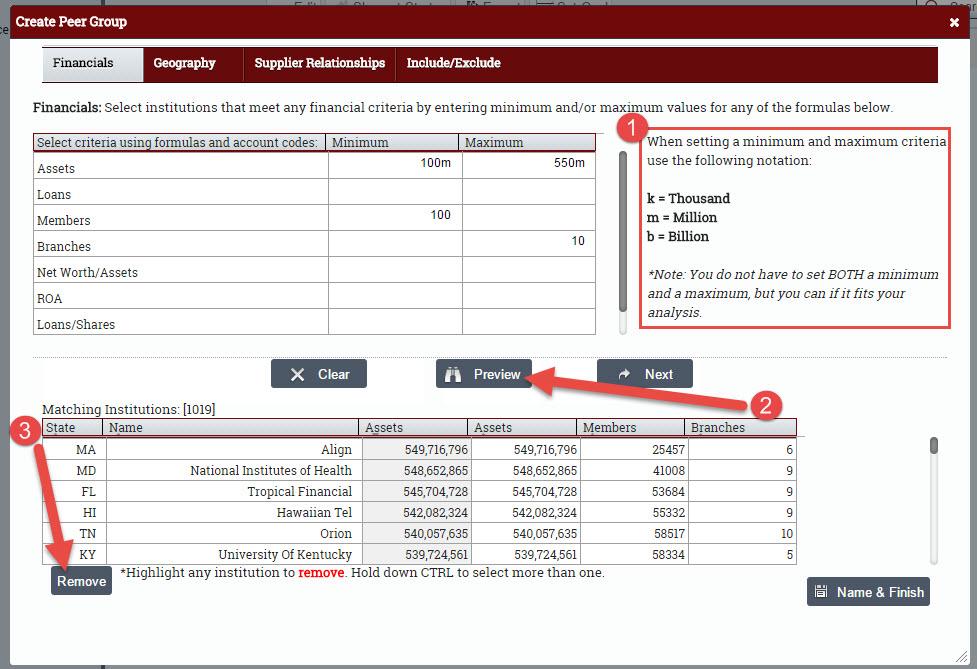
Step 2: Set the Financial criteria for your Peer Group.
- You may enter minimum and/or maximum ranges for each criterion – please be sure to use the notation directions (boxed in red).
- To see which credit unions match the criteria you set, click the Preview button.
- To exclude a specific credit union(s) from your Peer Group, select it in the preview table and click Remove.
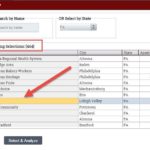
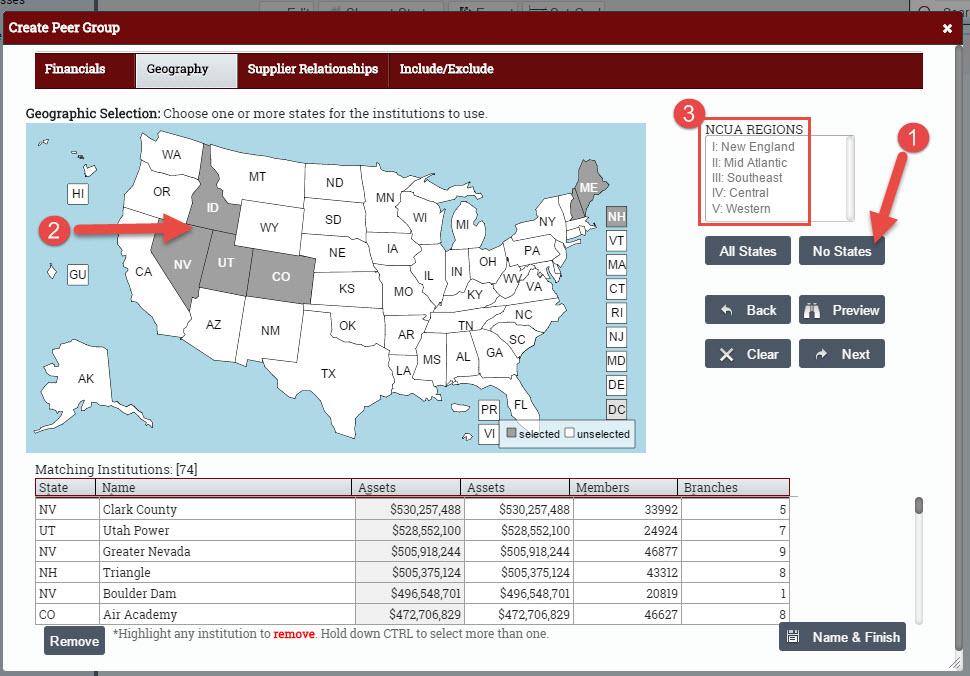
Step 3: Click the Geography tab. Set the Geographical criteria for your Peer Group.
- By default, all states are selected. To deselect states, click the No States button.
- To select a state(s), click on the state on the map so it turns grey.
- To select a NCUA Region, click on the region name in the list of regions.
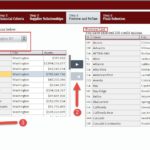
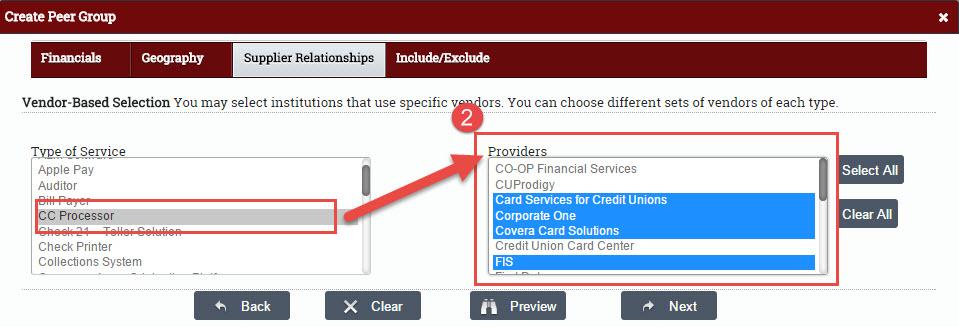
Step 4: Click the Supplier Relationships tab. Here you may shape your peer group based on institutions that use specific vendors.
- In the Type of Service list, select from various service types. Click on any service type and the specific vendors will appear in the right-hand list labeled Providers.
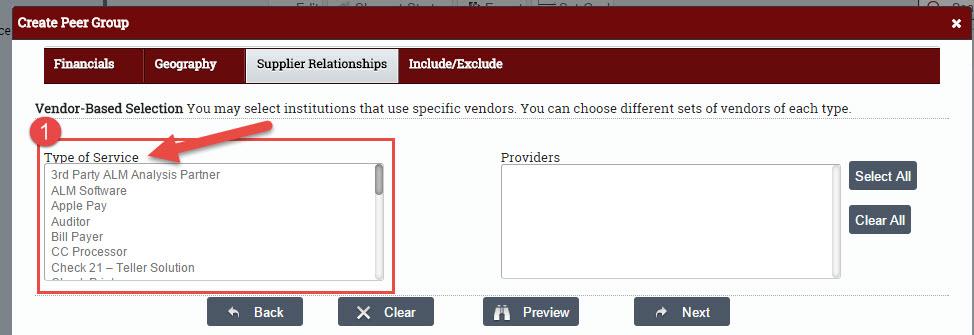
- Choose specific vendors in the Providers list. By default, all vendors are selected.
NOTE: If you wish to select more than one vendor, you must hold down the Ctrl key on your keyboard when you click. If you are a MAC user, hold down the Command key.
Step 5: Click the Include/Exclude tab. Here you may conduct a final review of your Peer Group
- To Exclude credit unions from your Peer Group, uncheck the box to the left of the credit union(s).
- When you are satisfied with your Peer Group, click Name & Finish in the lower right hand corner.

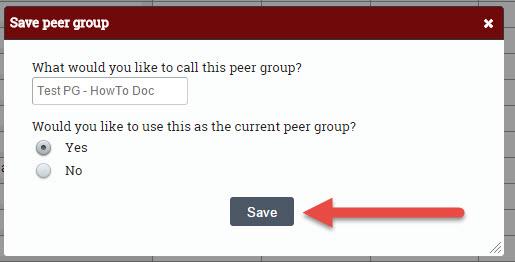
Step 6: Before clicking Save, type a name for the Peer Group. Click Yes if you would like to immediately use the Peer Group in your current analysis. Click No if you would like to use the Peer Group at a later time.
NOTE: To access your saved custom-built Peer Groups, click on the Peer Group drop down. Your custom-built Peer Groups will be highlighted in pink.